
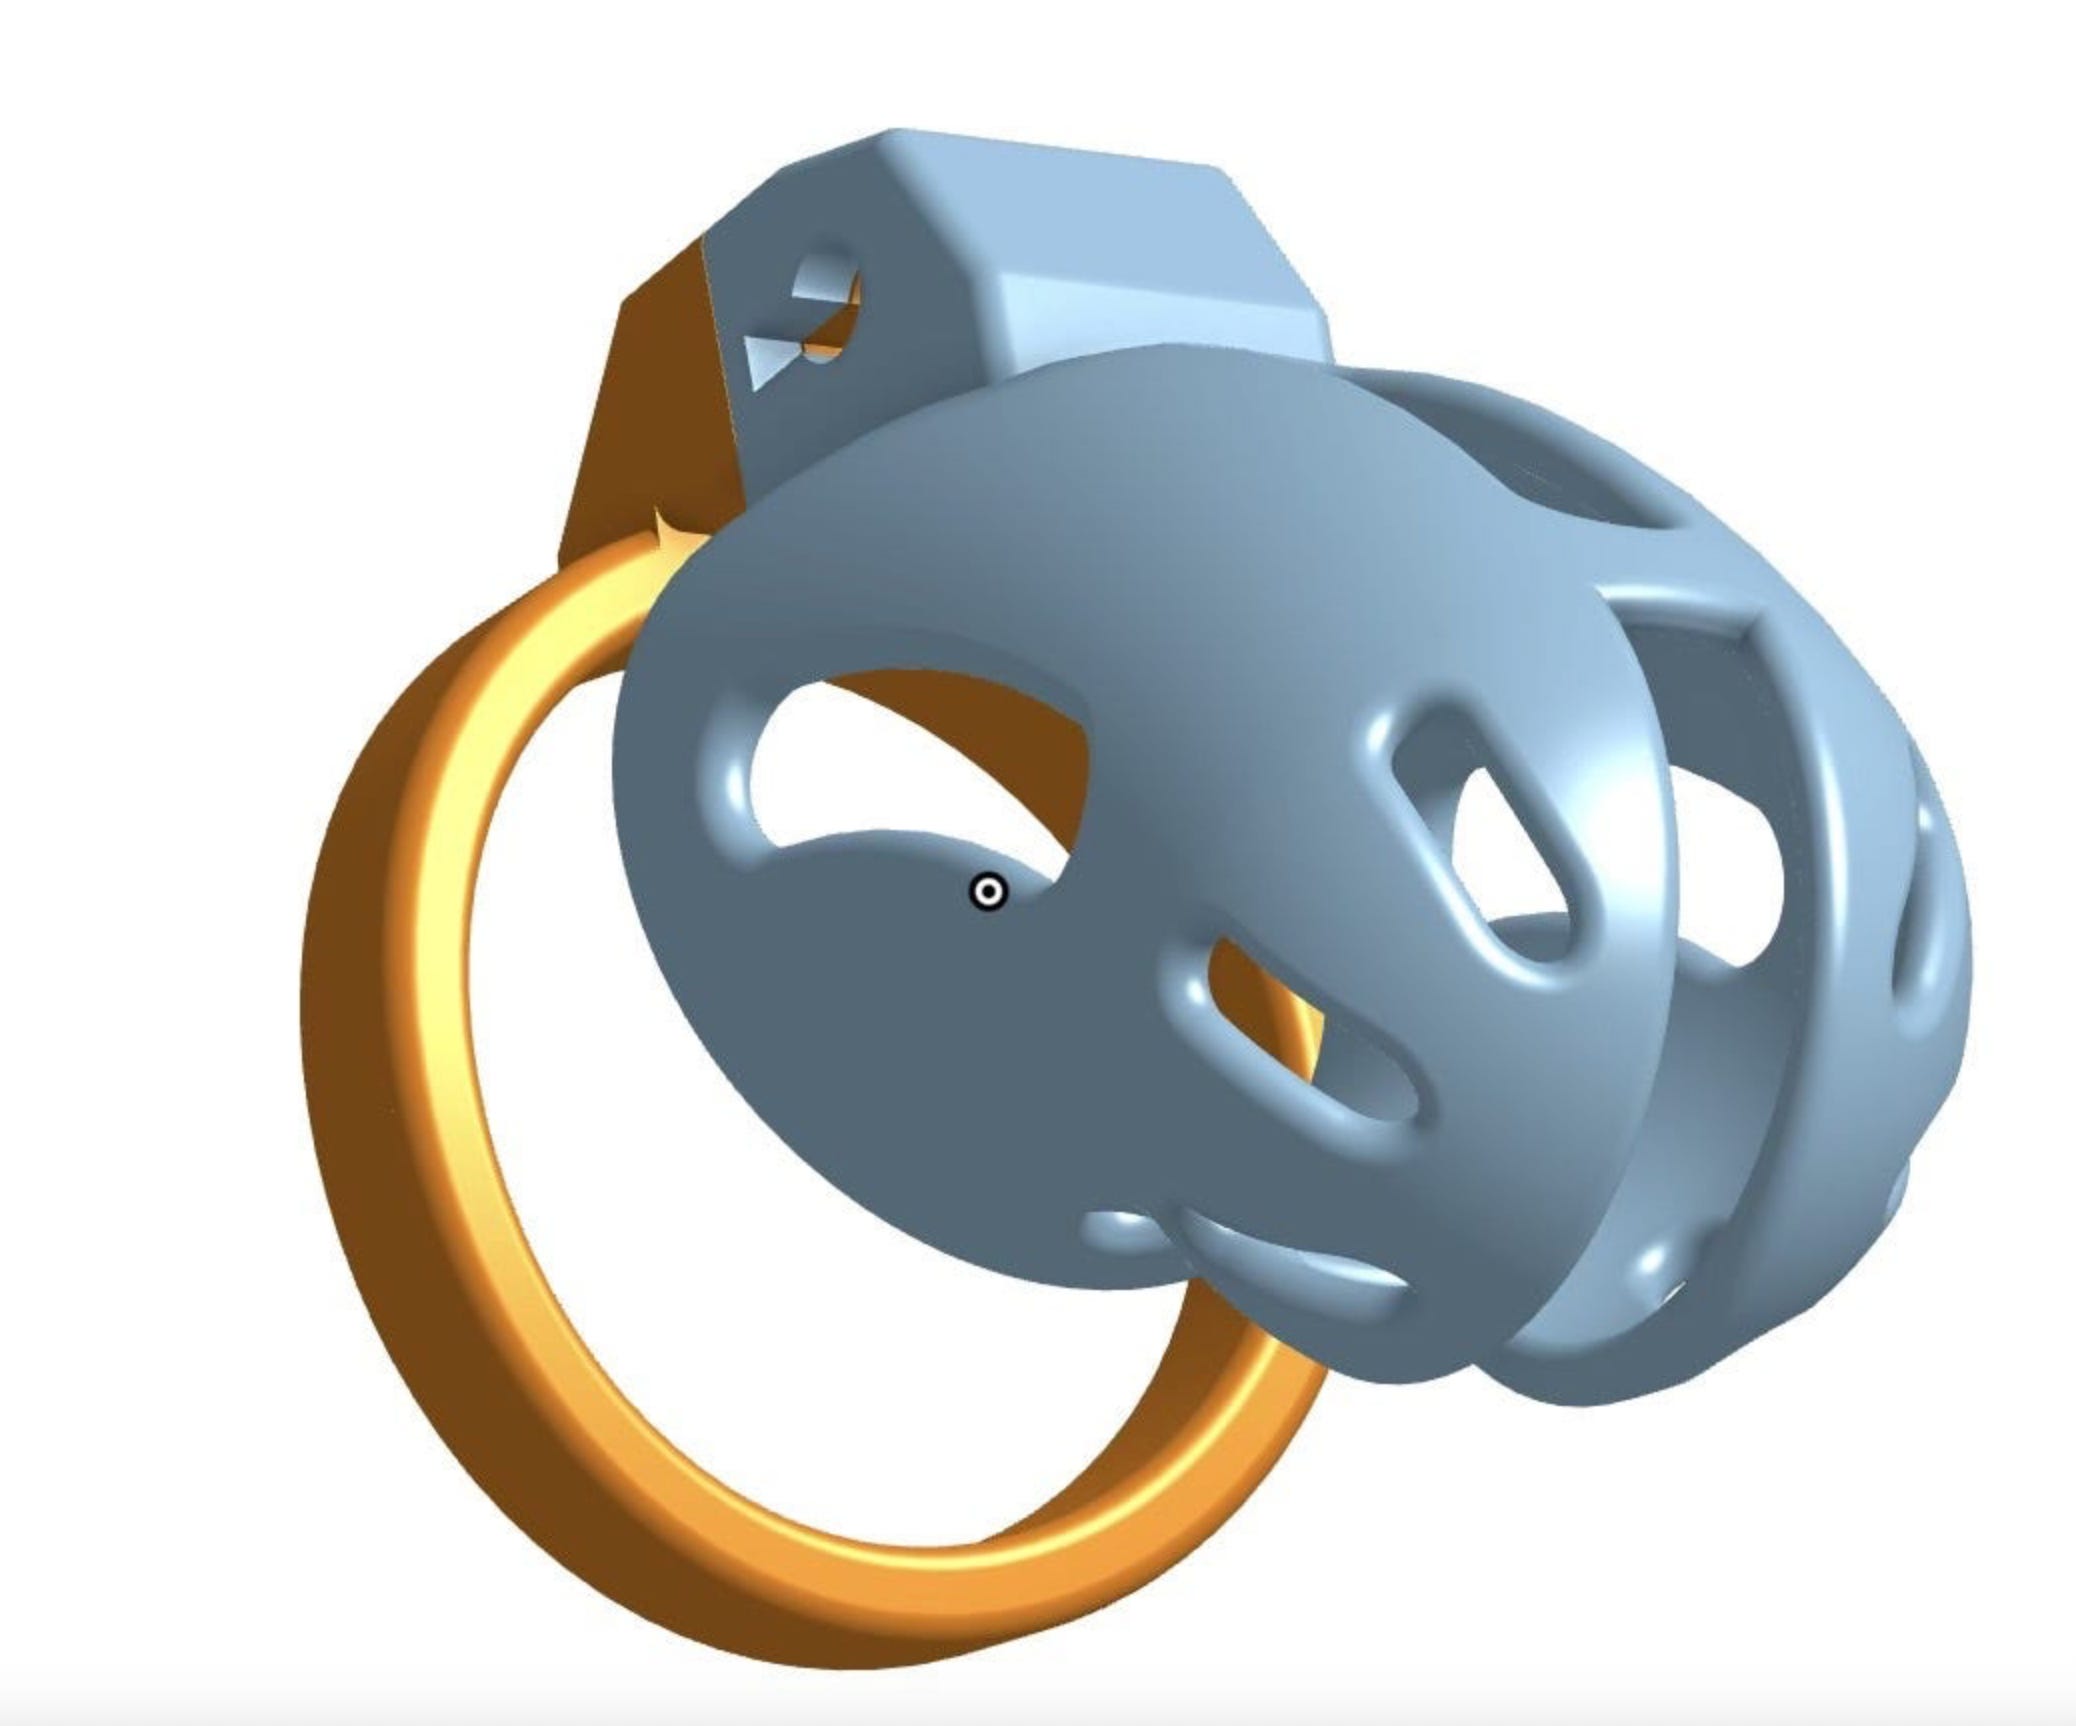
Designing a Chastity Cage
Table of Contents

Welcome to the only free post on this publication. If you’re looking for my free content, that’s here:
Why two different publications? Because I post links to my free one all over Reddit to help people and I don’t want those links to talk about paid subscriptions.
Continuing…
This is the table of contents for my video series on designing a chastity cage. I have not found a suitable platform for selling this series as something you would have permanent access to so I’ve made a year subscription the same as a month, $40. But this has its advantages besides having access for quite a long time – I can continue to add videos. If there’s one thing I’ve learned from making my own cages is a cage is never done so I will continue to record videos as I iterate on this cage and also introduce a technique that didn’t make the first iteration – lofts.
This is not a polished tutorial. I made this design once as just a rehearsal for what I basically wanted to do. But during this tutorial, I’ll make a new design from scratch and not referring to notes or procedures or anything else. So there will be mistakes and mistakes you’ll see me work through and correct. And I think that’s a bonus as you get to learn what to look for when you’re designing your own cage.
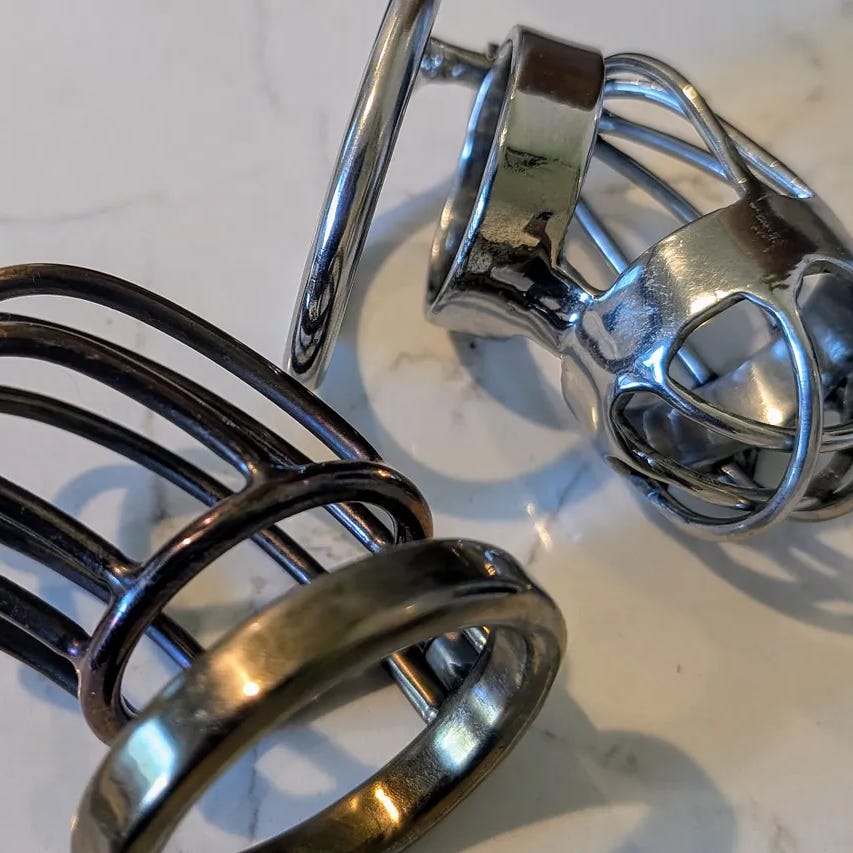
To set expectations – if you don’t own a printer and you’re using a service to print, your first print is unlikely to be workable. It takes iterating and iterating without having a printer is time consuming. A high quality printer suitable for prototyping and making a wearable cage out of PLA can be had for less than $300 new. I’m not steeped in 3D printing like I am chastity but the Bambu Lab A1 Mini is such a printer. The caveat is PLA is hard to keep clean and so I wouldn’t consider it for anything more than prototyping and a day-long test but many on r/3DPrintedChastity wear PLA prints all the time.
Now, the table of contents:
Making the Cage
Making the Head Piece
Making the Ring
This first video is where I show how I was able to use OnShape’s versioning system to repeat a lost video. Feel free to skip it as I touch on it on the next video.
Modeling and Placing the Barrel Lock
Either watch 7a or 7b. 7a will model the barrel lock, 7b will just load a model from a file provided in the description.
In Part 7a, we’ll actually model a barrel lock from an existing mesh (STL) file. A nice skill to have but not critical so feel free to just watch 7b.